Building my new HomeLab
HomeLab
For many years now, I’ve run a ‘server’ of sorts at home in various incarnations: Mac minis, old PCs and Raspberry Pi’s etc. In the past few years where I’ve taken self-hosting services at home a lot more seriously, it’s turned much more into a “HomeLab”. However, I’m definitely no networking expert, and my setup gets much more tweaking on the infrastructure and software side of things!
Rack case
For many years I’ve had different rack setups for my HomeLab setup. Even when most of it wasn’t actually 19" rack mountable, it was just so much neater to have it on a rack shelf.
A few years back when I moved house I wanted to hide it all in a cupboard, but didn’t have a huge amount of gear at the time (a Mac mini, Drobo, AirPort Extreme and a network switch I think), so I looked for a small rack that I could have, ideally on casters.
Everything was SO expensive for me at the time, so I ended up making something out of a cheap Ikea bedside table that cost something like £8, then bought some rack “ears” and caster wheels from eBay. This actually ended up being my solution even until I moved in 2021, as in my previous house it was sitting in the loft, so I saw no need for anything even vaguely sexy!
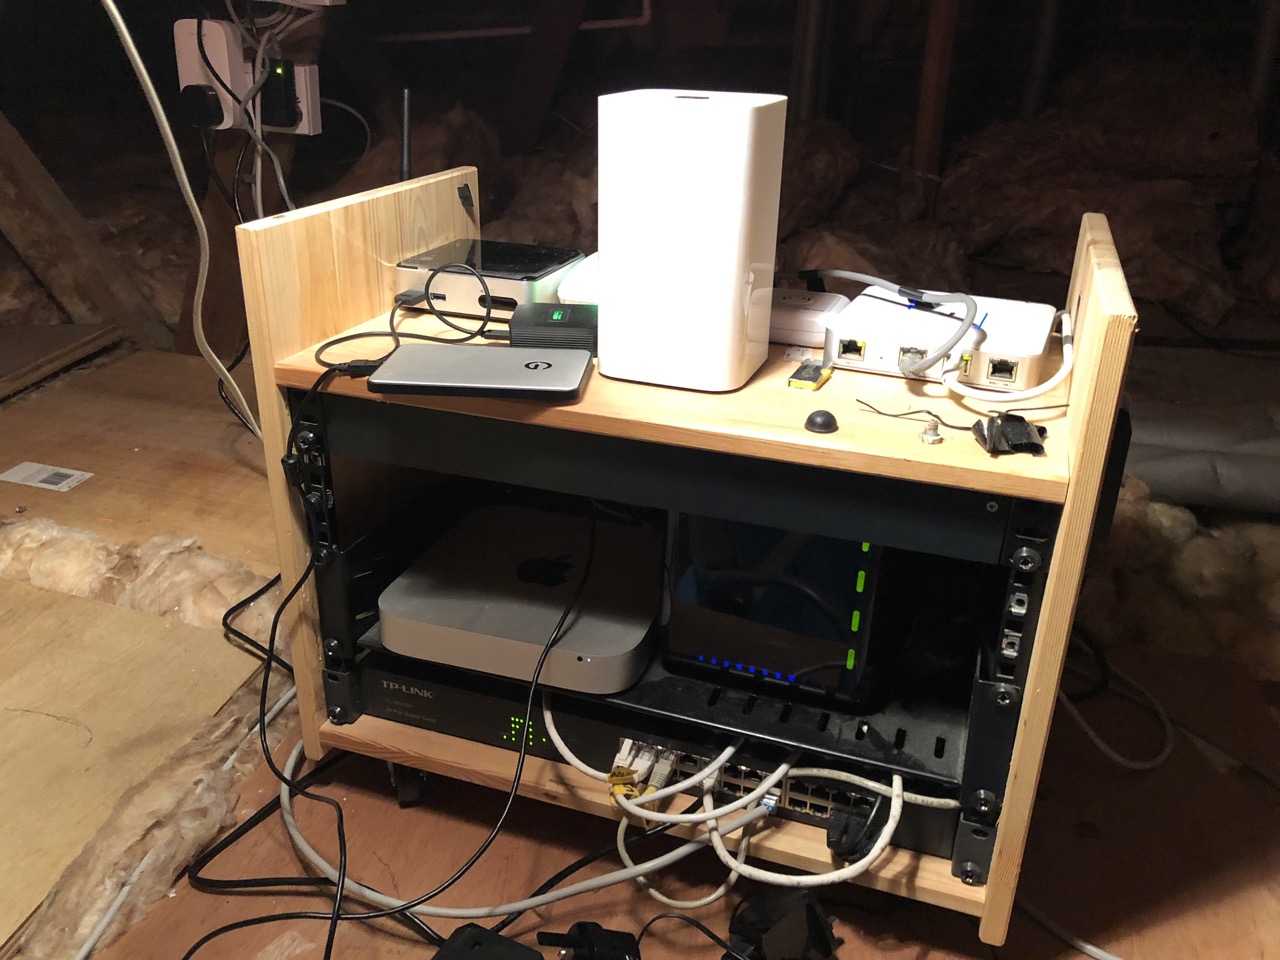
Here’s a photo of it in it’s final state, before it was replaced:
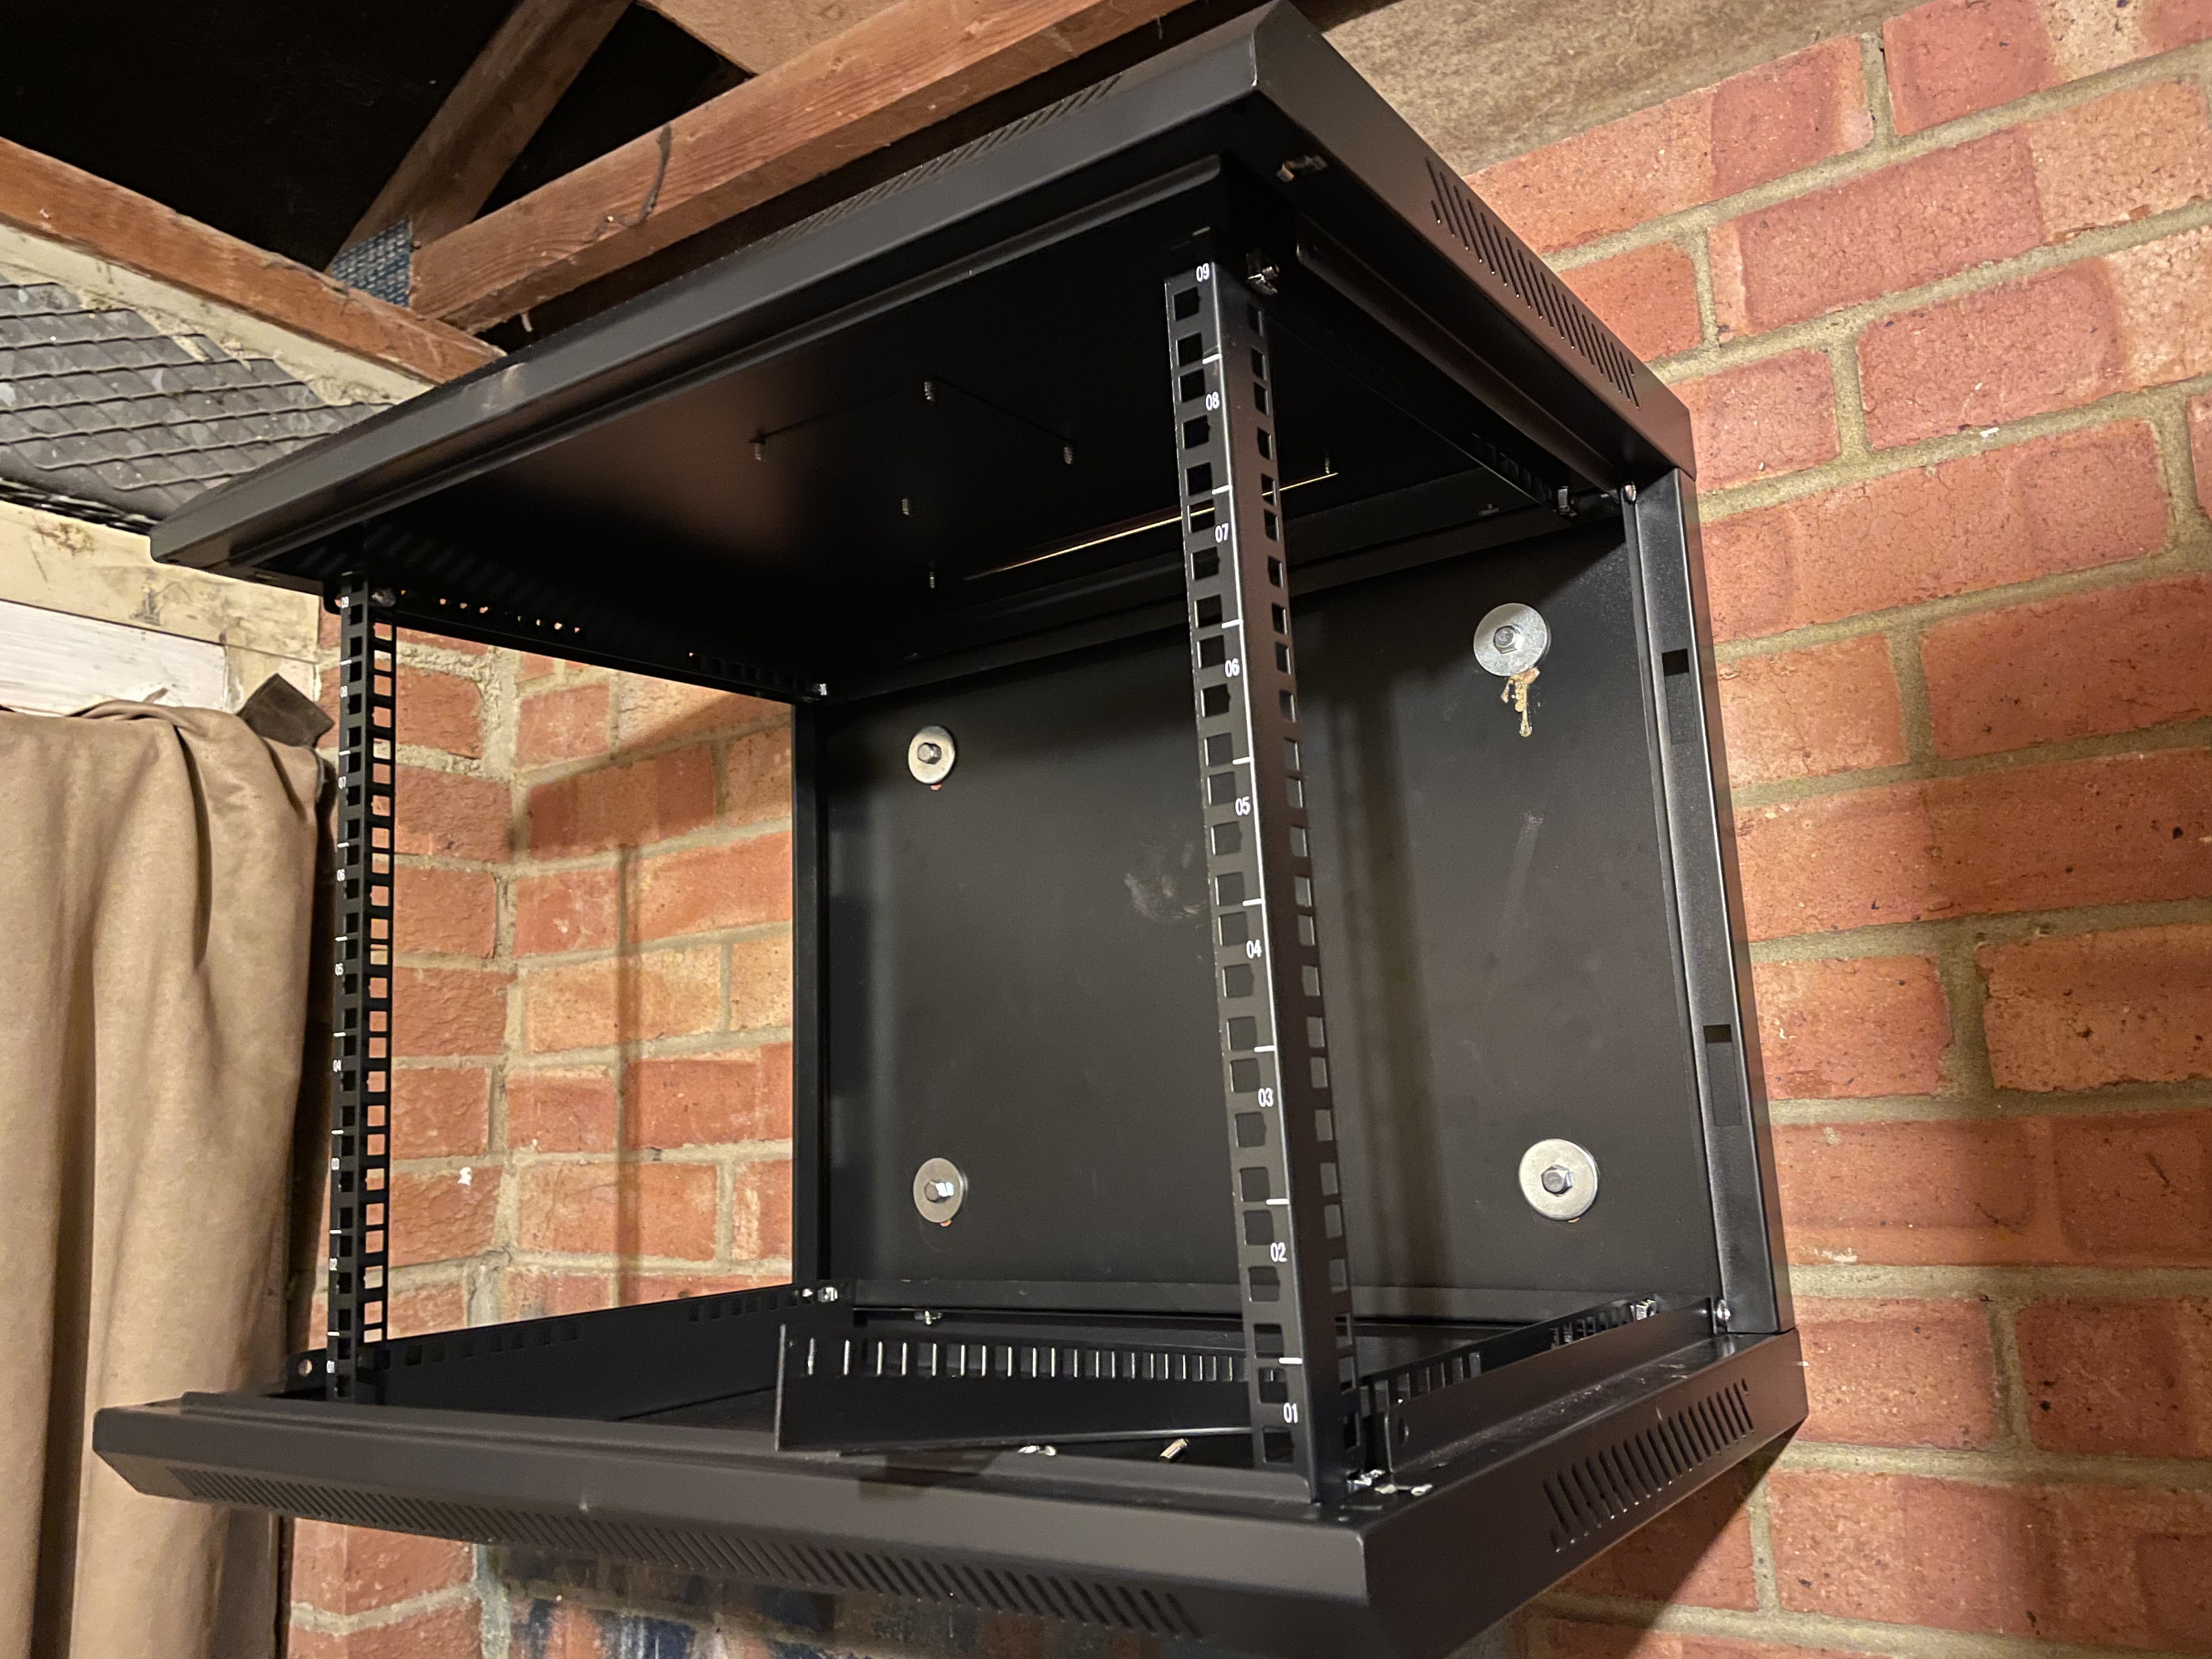
Since moving, we have a nice but small garage space that makes sense to move all of this gear to, so it’s out of the way. I decided to buy a rack that I could wall mount, to maximise the floor space in there. I found a 9U from a company on eBay for about £80.
The instructions it came with were… six diagrams. Six… badly drawn diagrams. I wasn’t expecting to have to use the instructions to be honest (after all, it’s a metal box that gets screwed together and then screws to the wall!) but there were some strange brackets it came with that I couldn’t for the life of me figure out what I was supposed to do with. I ended up calling the company and the guy actually also didn’t know, but at least was nice about it and honest!
I was worried about the installation of the back panel into the brickwork in the garage, but after buying some hetfy coach-bolts I managed to get the back plate onto the wall:
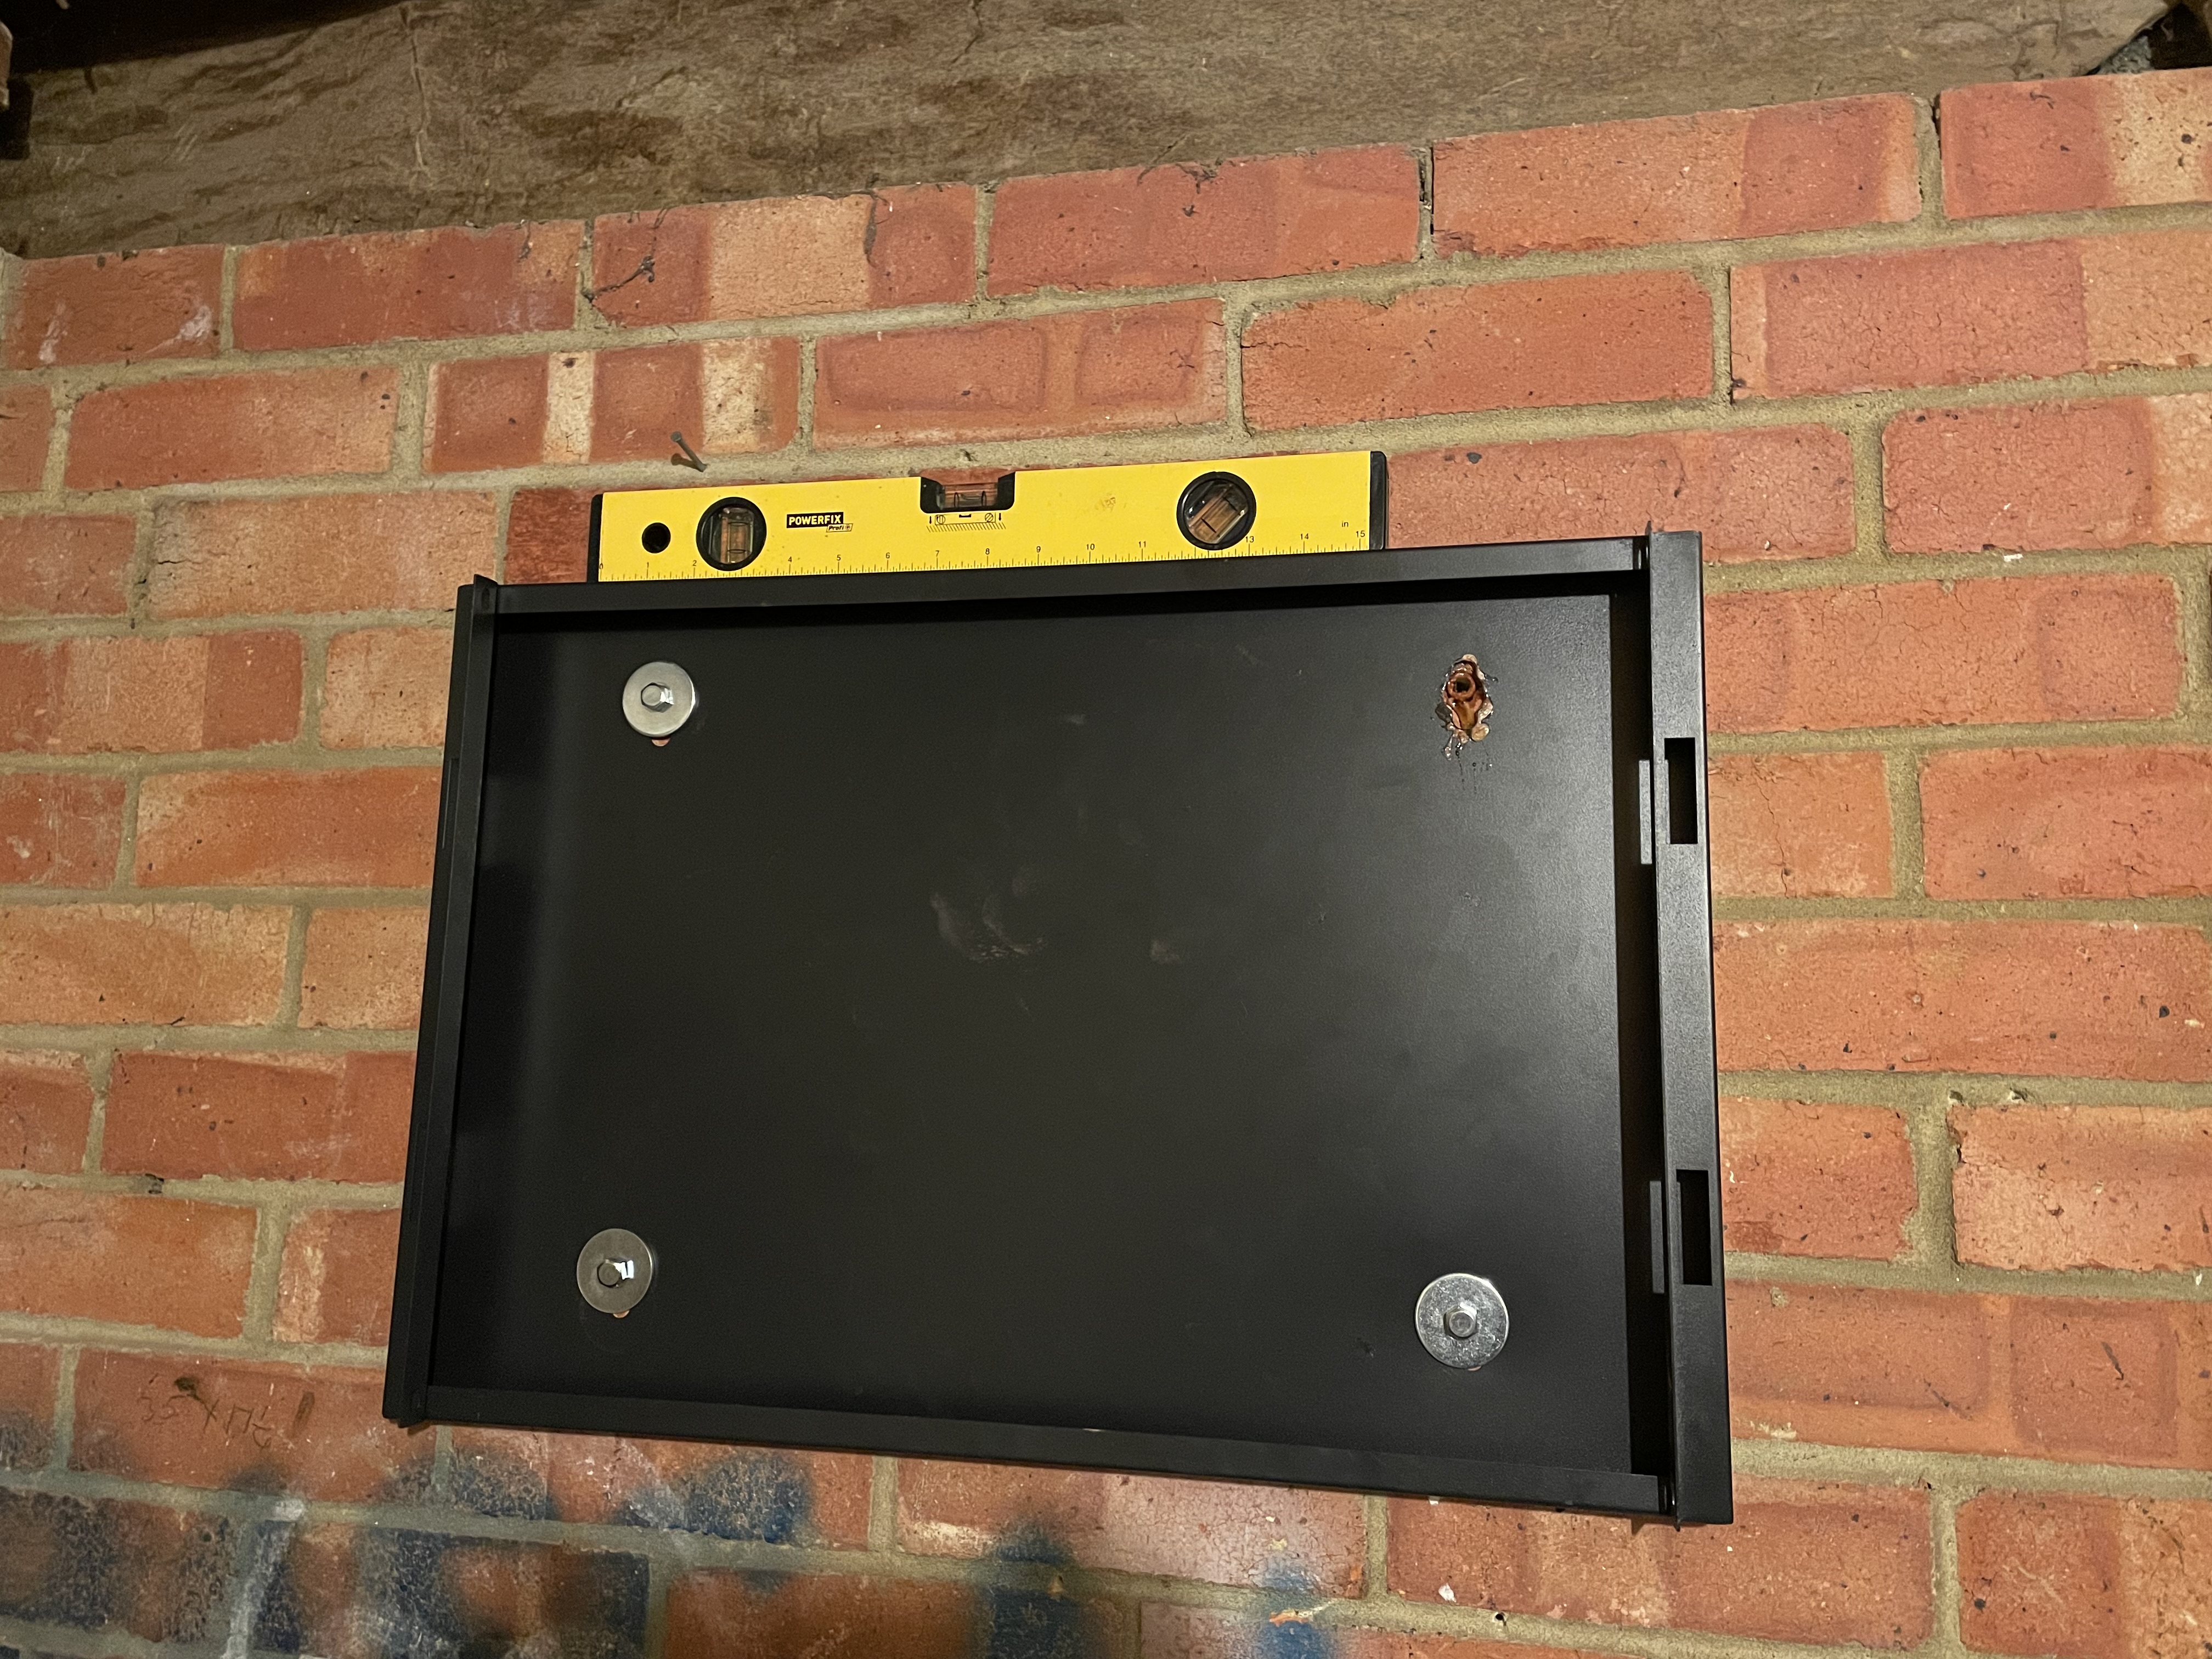
You’ll notice some ‘ooze’ from that top-right bolt. I’m not sure whether I hit an air pocket or something in that brick, but I drilled with three increasingly large drill bits to try and keep things clean and when I got to the largest one, the brick just turned to cheese and crumbled apart. I decided to just get the wall plug in place, and use some expanding glue compound to try and hopefully keep it in place. I left this to dry overnight and it actually worked really well. I came back the next day and I could screw in the coach bolt absolutely fine.
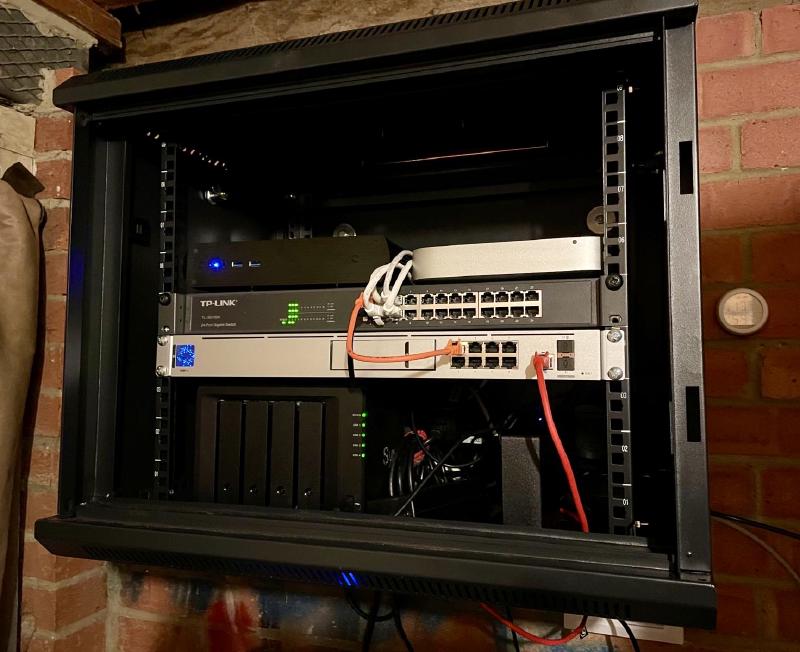
Here’s a photo of the main part of the case assembled:
Hardware
UniFi Dream Machine Pro
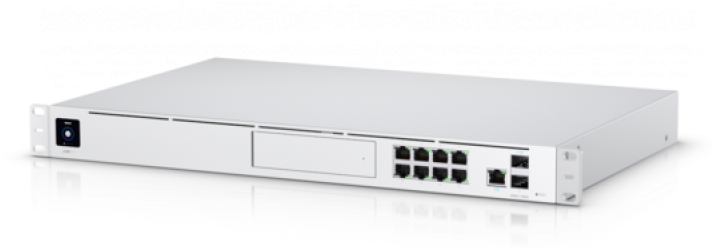
Yes, I’m aware for some, this is overkill! I’ve had a bunch of UniFi products over the last few years (AP Lite, WiFi 6 APs and the USG 3) and really liked their approach to things. I decided when we were moving house that as a bit of a treat to myself, I would factor the cost of buying a UDM Pro into the cost of moving. This would allow me to replace my USG3 but also decommission my UniFi controller Docker container. So far I’m super impressed. It just works and the speed of the interface is great. I’m planning to look into utilising the NVR capabilities of it at some point too.
Mac mini
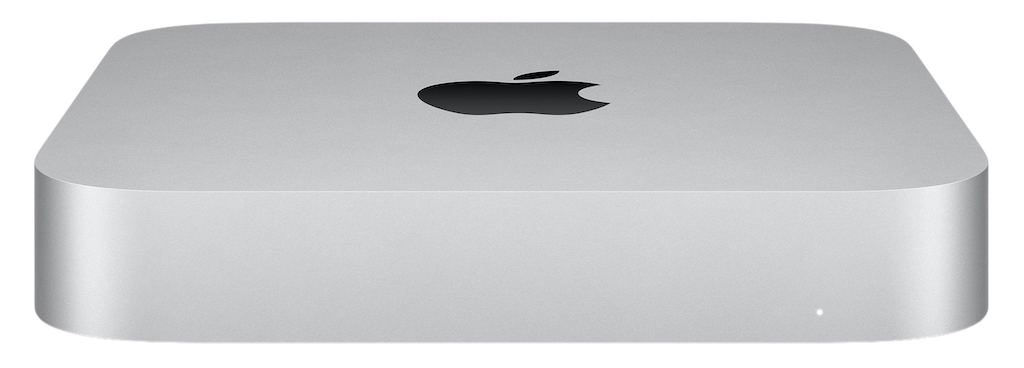
This was my old media server for many years. I bought it in 2011 and it was plugged into my Drobo at the time, serving media using Plex. I got to the point where the bottleneck for my media consumption issues was the Firewire interface on my Drobo. As this Mac mini didn’t have USB3, I could only utilise the Thunderbolt port to get a faster interface, but Thunderbolt or even USB3 Drobos at the time were £££ and it actually made sense to replace it all with a NAS instead. Since then, it’s become my primary Proxmox host where I run VMs and containers for a lot of my self-hosted services.
Synology DS918+
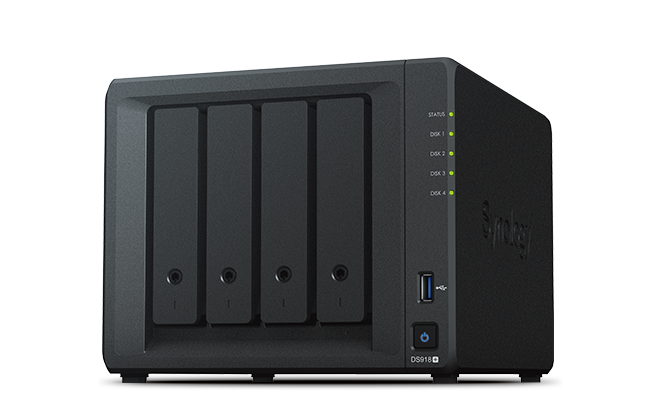
I purchased this Synology from someone on Reddit (what a world we live in!) for just under £400. It has been fantastic and has managed to replace my previous janky Mac mini and Drobo setup. I’ve even used the brilliant Docker implementation in it to self host things like Plex and the ‘arr apps, amongst other services.
Intel NUC

(This is the black box with the blue light in the image). I bought this NUC specifically for my Home-Assistant setup. I was previously running Home-Assistant on a Raspberry Pi, then a NUC using Ubuntu Server. However the previous NUC (which I’d bought for another project originally) had no ethernet port, so I was utilising a USB to Ethernet dongle for connectivity. This worked fine under Ubuntu Server which I was running Home-Assistant on previously, but I couldn’t get it working under Home-Assistant OS. So I picked this NUC up off eBay for about £130, which included an SSD, RAM and WiFi card. Since then, I moved it to a fanless case that I bought off eBay. I was skeptical it would keep cool enough but this has worked really well so far.
TP-Link 24-Port Switch (Now retired)
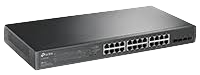
This is a simple one. I’ve had this for many years, and it’s been super solid. At the time I couldn’t afford a managed switch and right now I’m not sure I could really even justify one!
EDIT: This is now retired in favour of a Netgear PoE Switch.
Netgear GS728TP PoE Switch
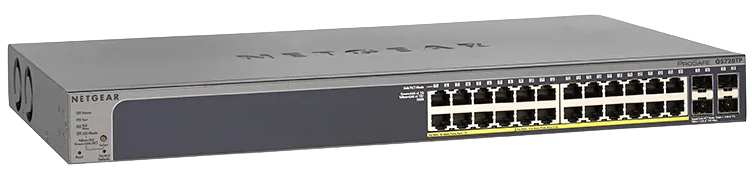
I bought this switch off eBay to replace the couple of small PoE switches I was using for cameras, access points and switches. I picked it up for £70 which I think is great value, but it’s fans are quite loud. I wrote a blog post about researching replacement fans for it.
Patch Panel
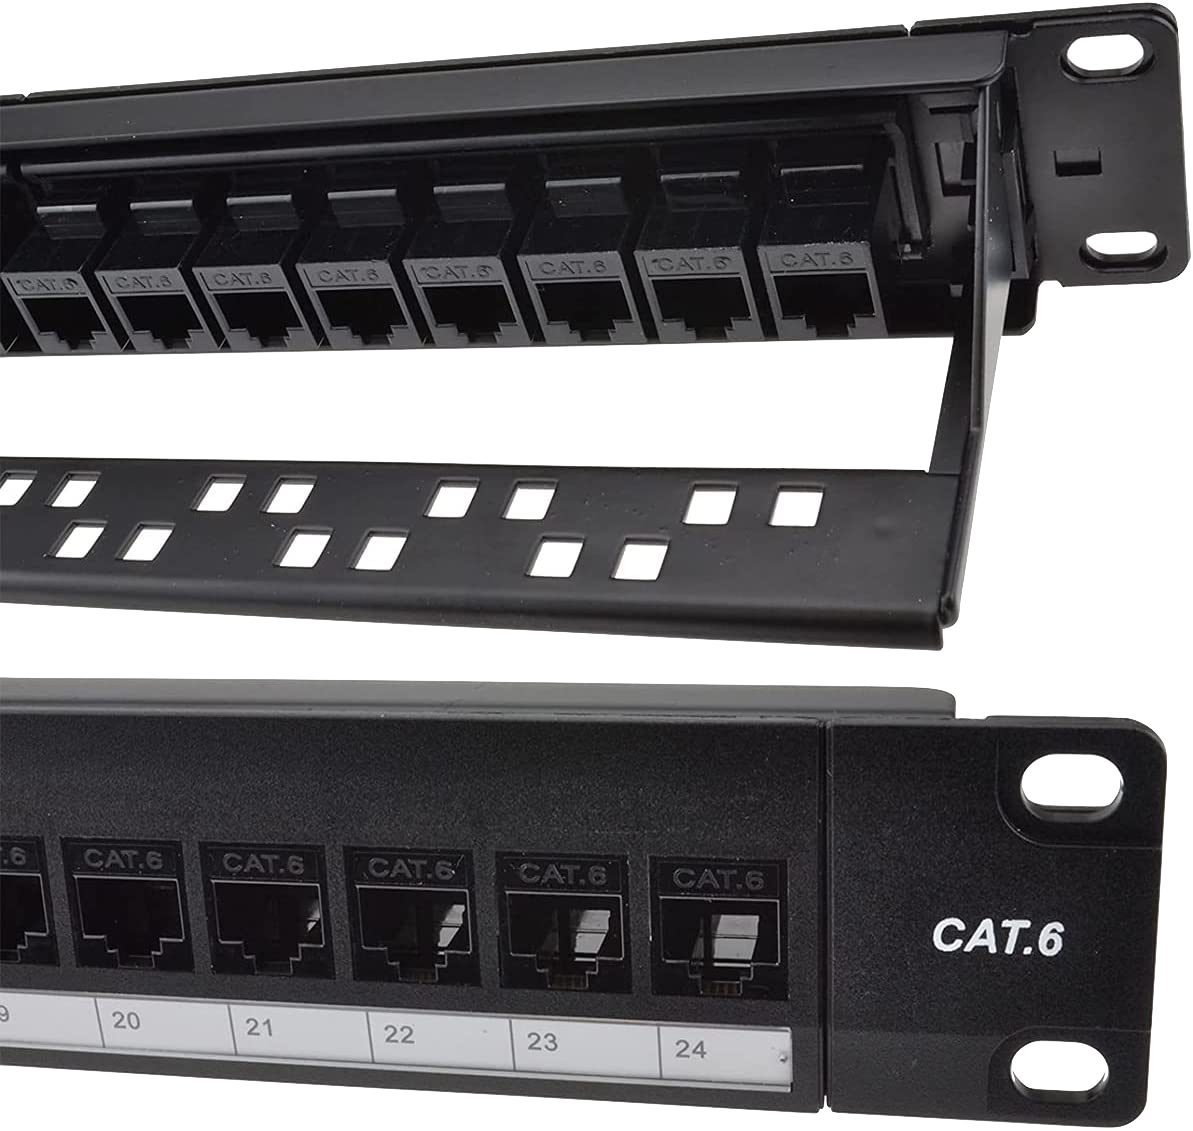
I bought this patch panel to tidy up the cables coming from different rooms and devices like cameras and access points. It’s a ethernet jack each side, which was something I wanted for ease of use as I’d already made a dozen or so cables and didn’t fancy chopping them up - this was plug and play!
Patch Cables
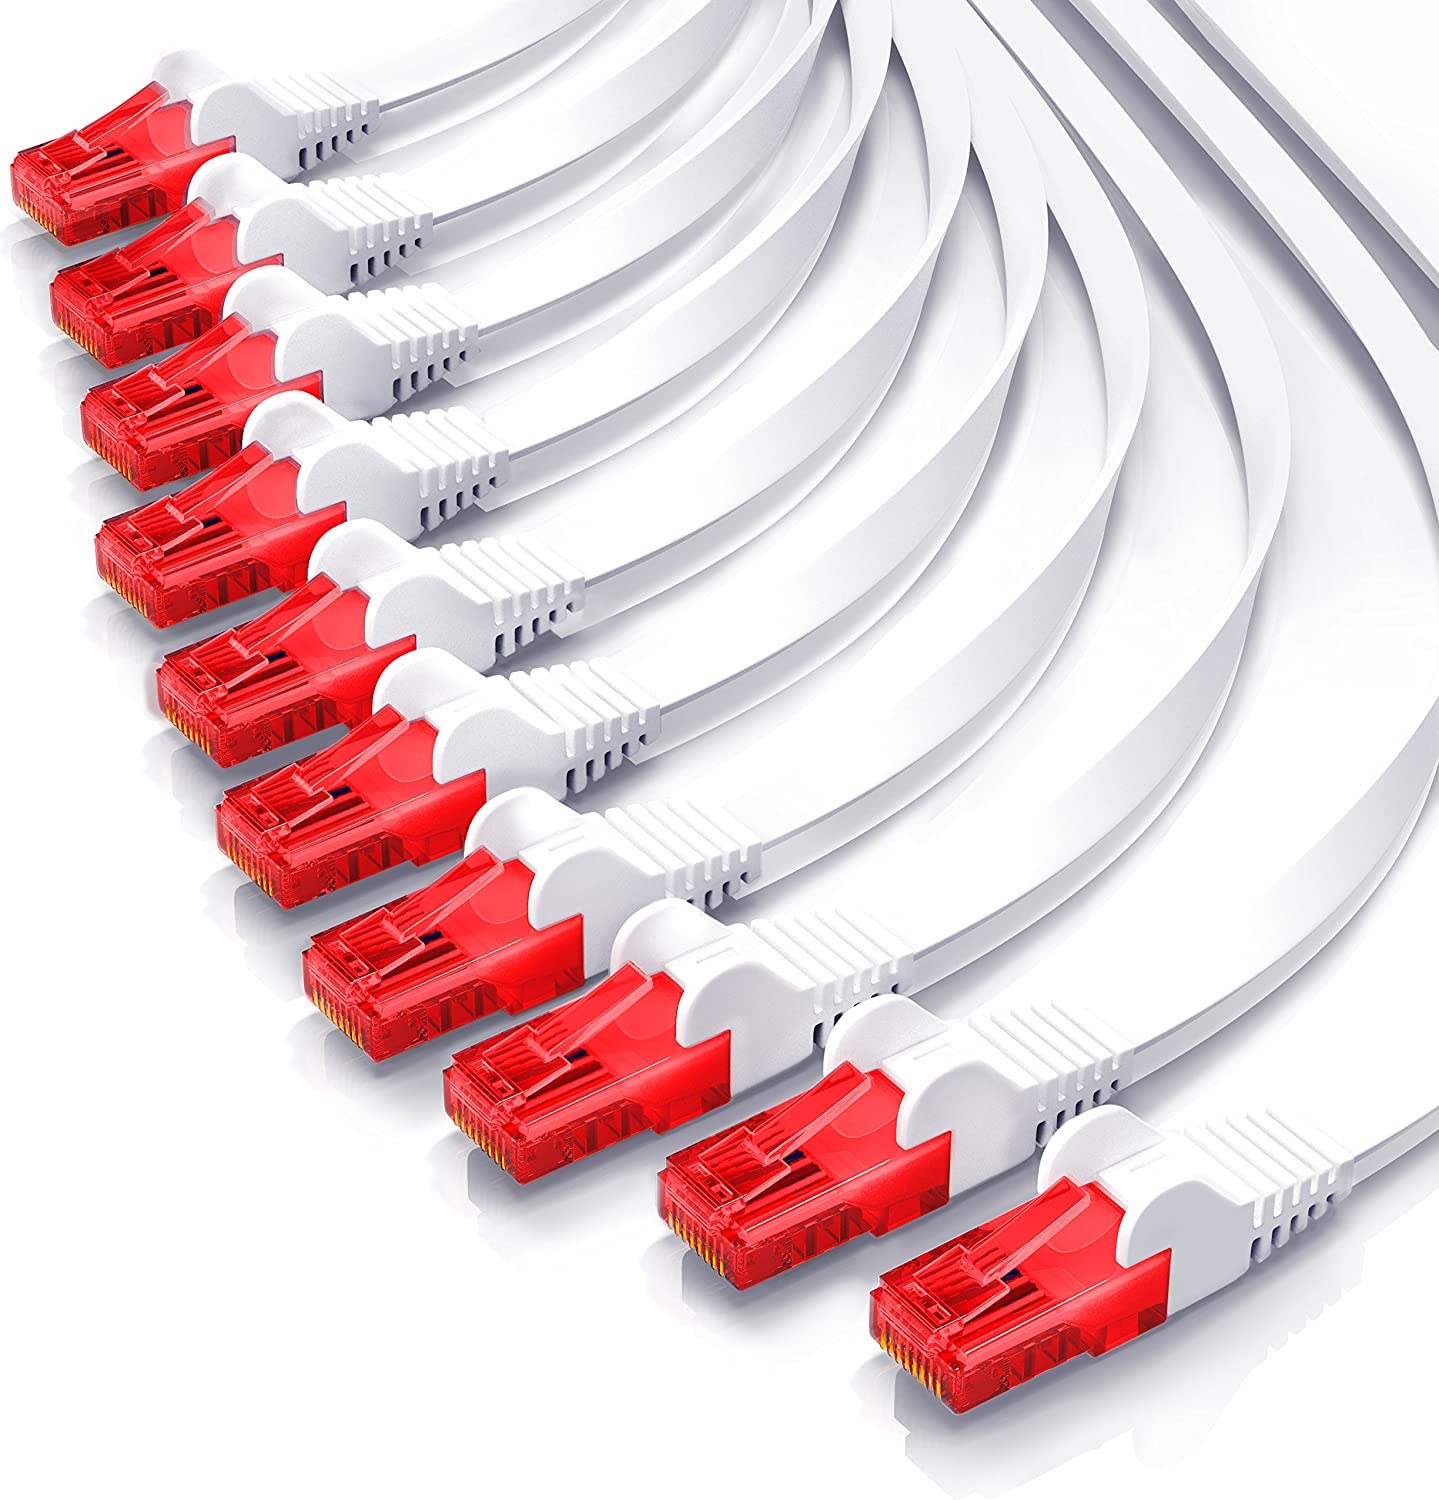
I these patch cables to go from the patch panel above to the network switch. I really liked the look of the red connectors and the flat cables. I was actually really pleasantly surprised at the quality of them for the price!
Making it presentable
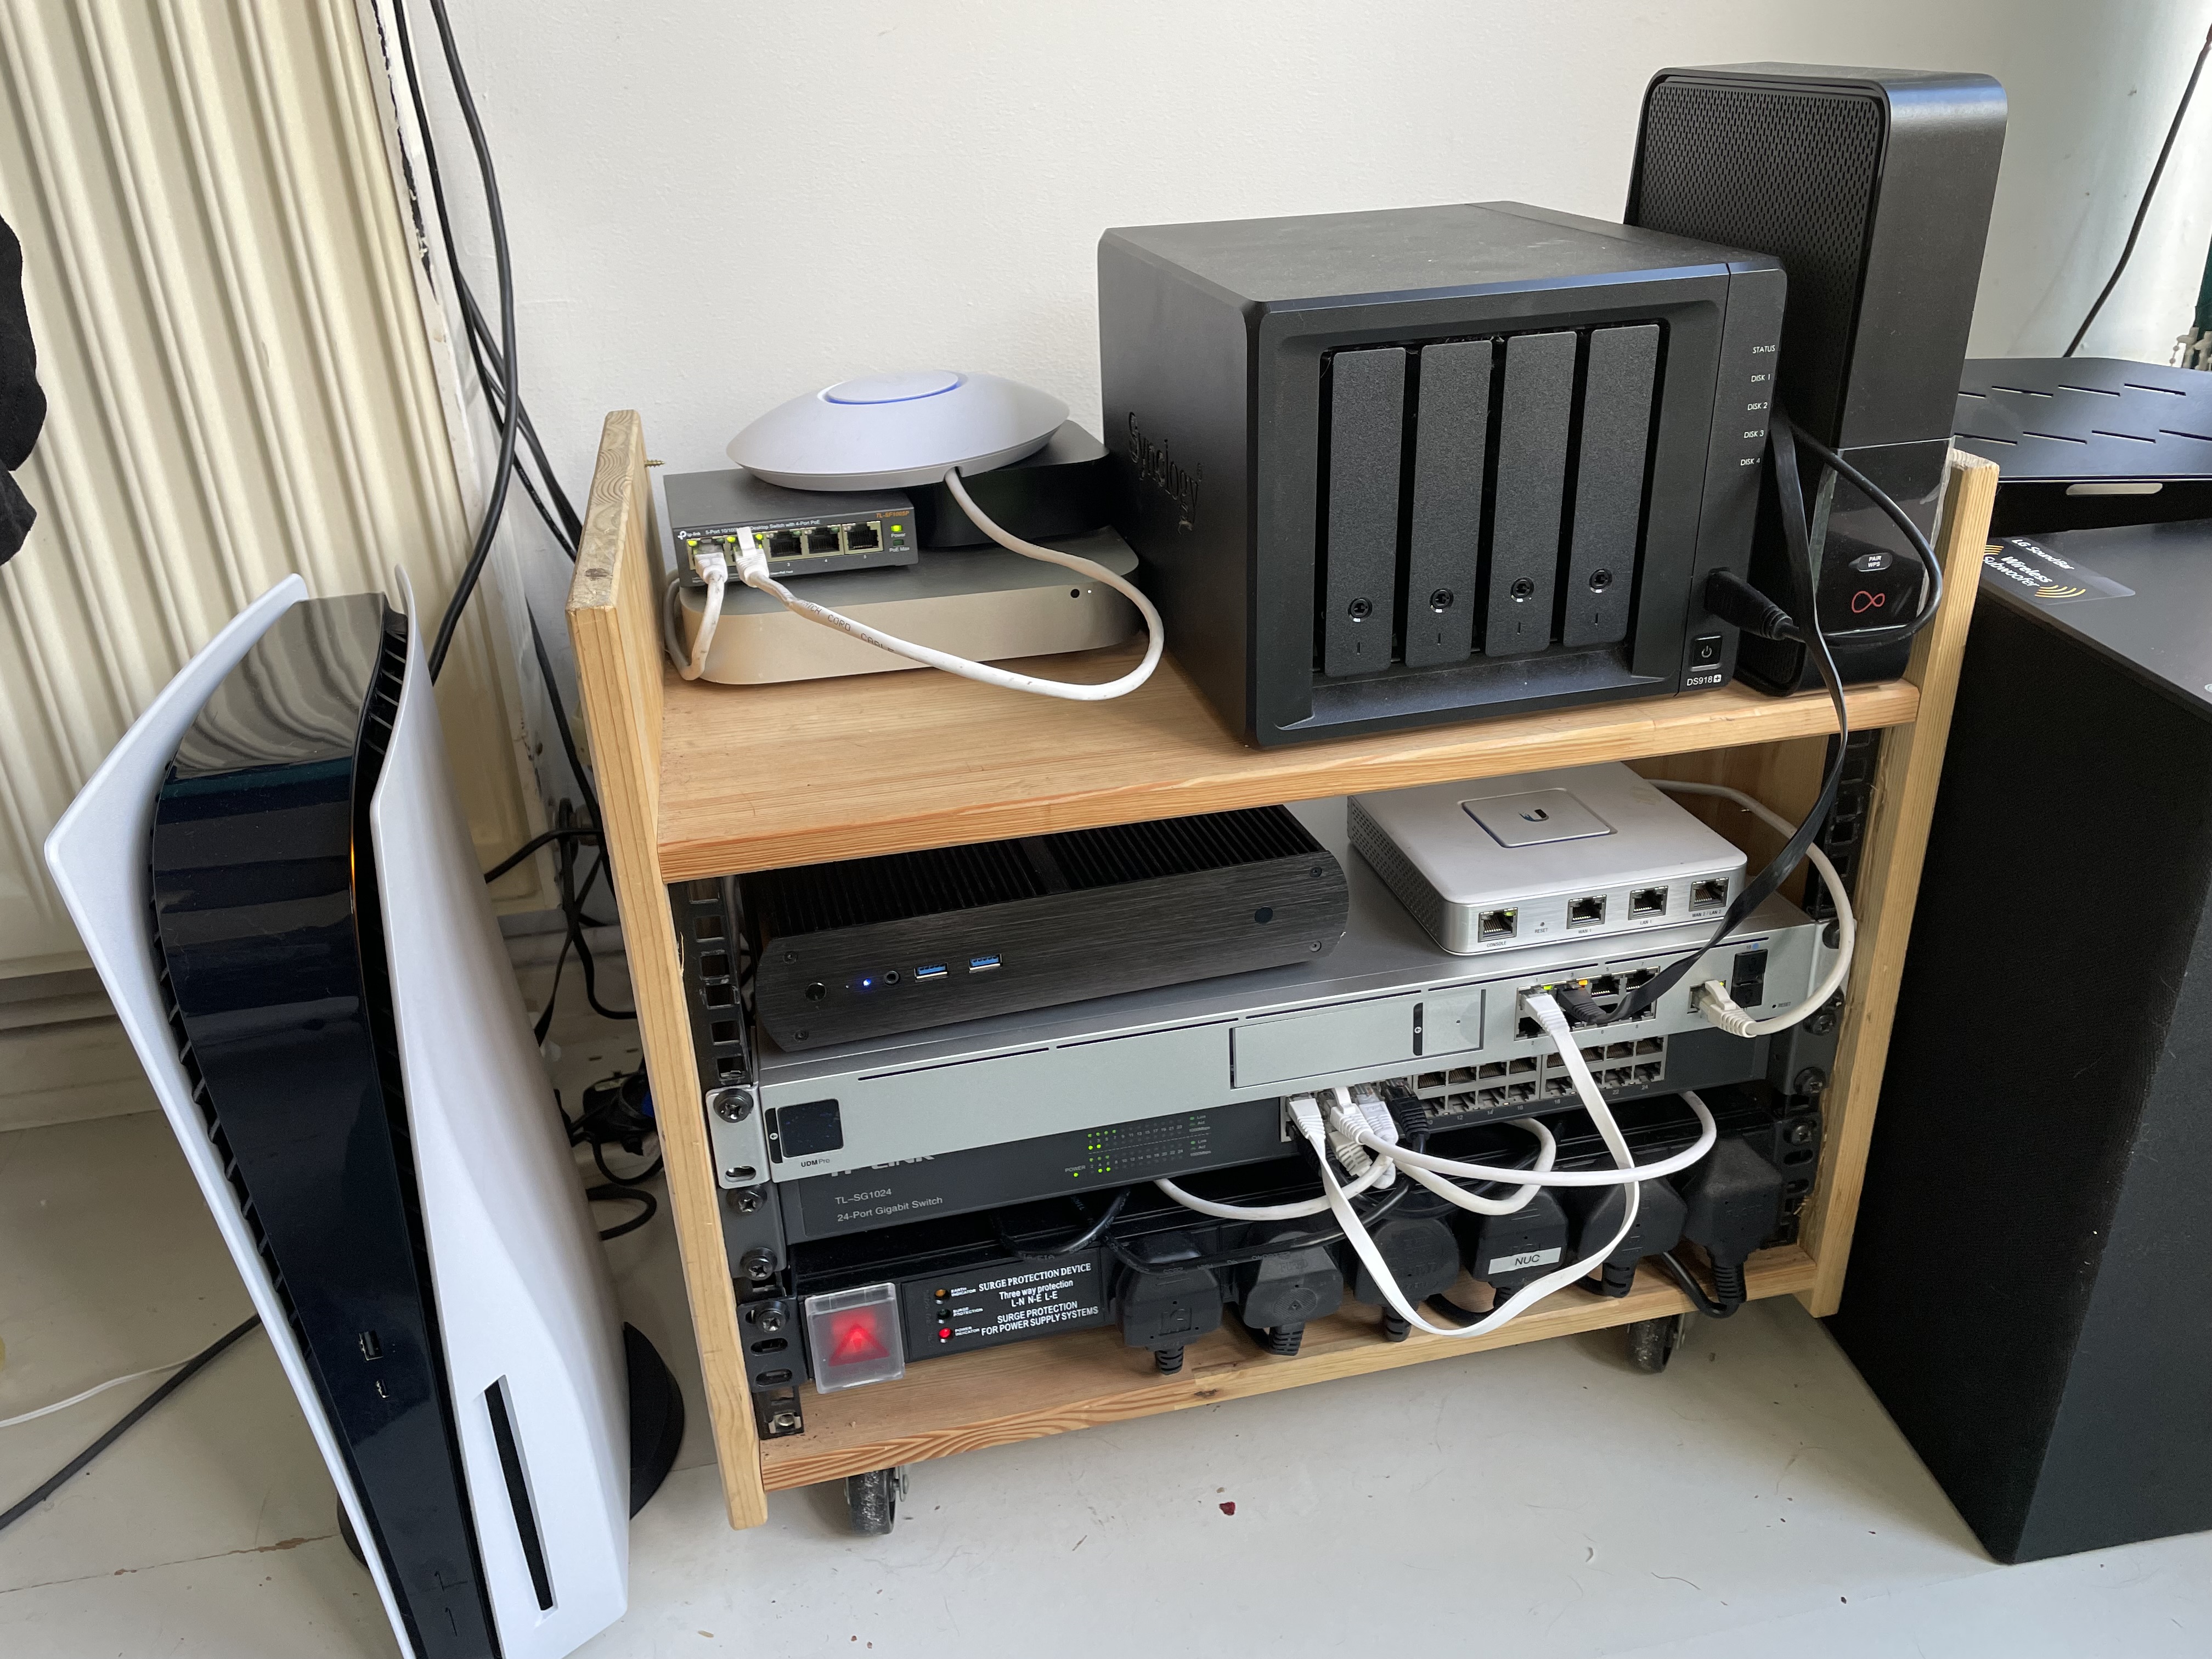
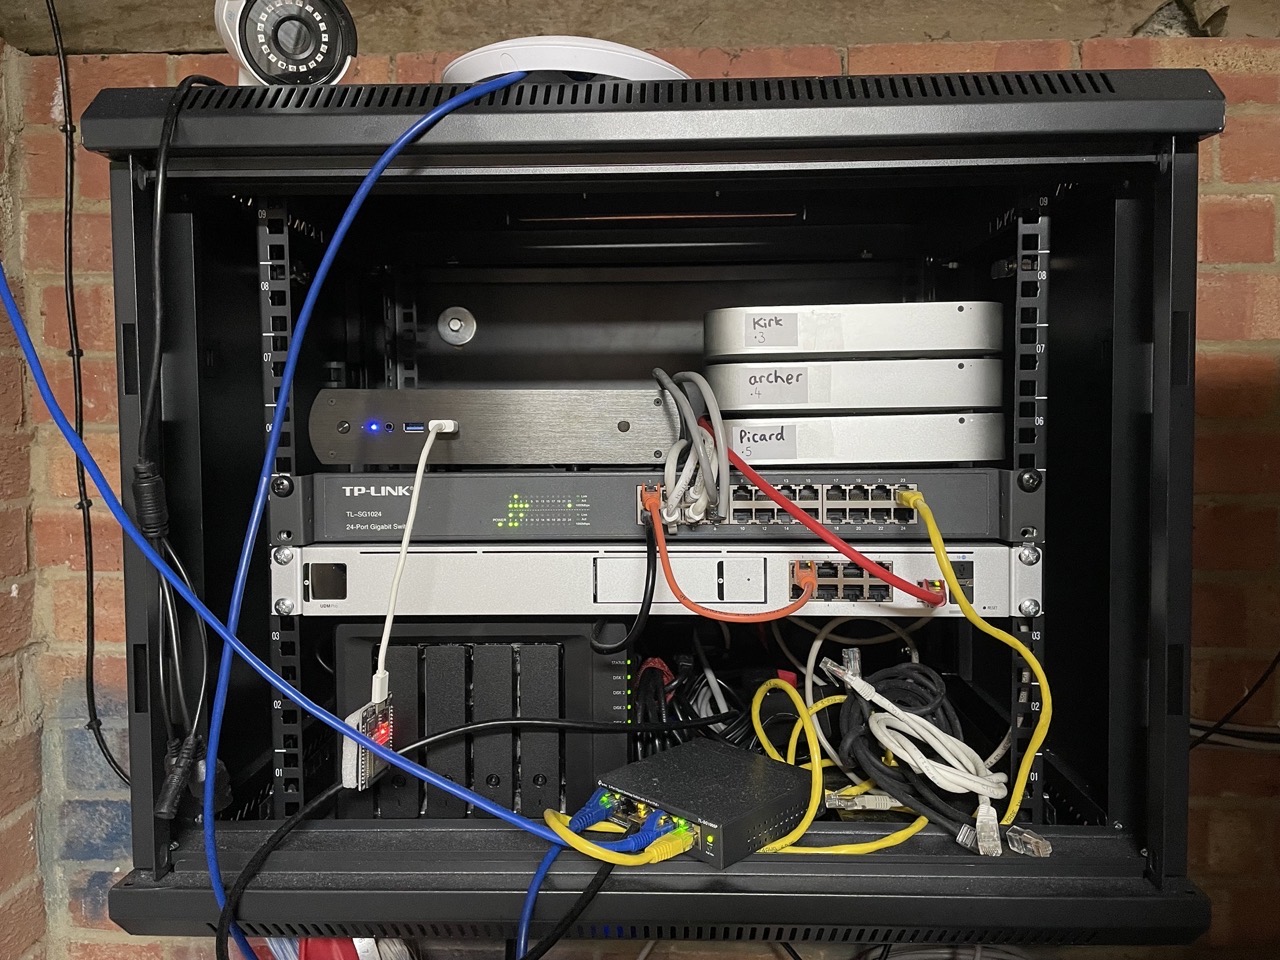
I was so excited to get the rack installed and setup that I did ZERO cable management at first. As you can see, things got messy:
So I decided to buy myself a patch panel and some patch cables (linked above) to sort it all out. I started by stripping everything down and re-organising:
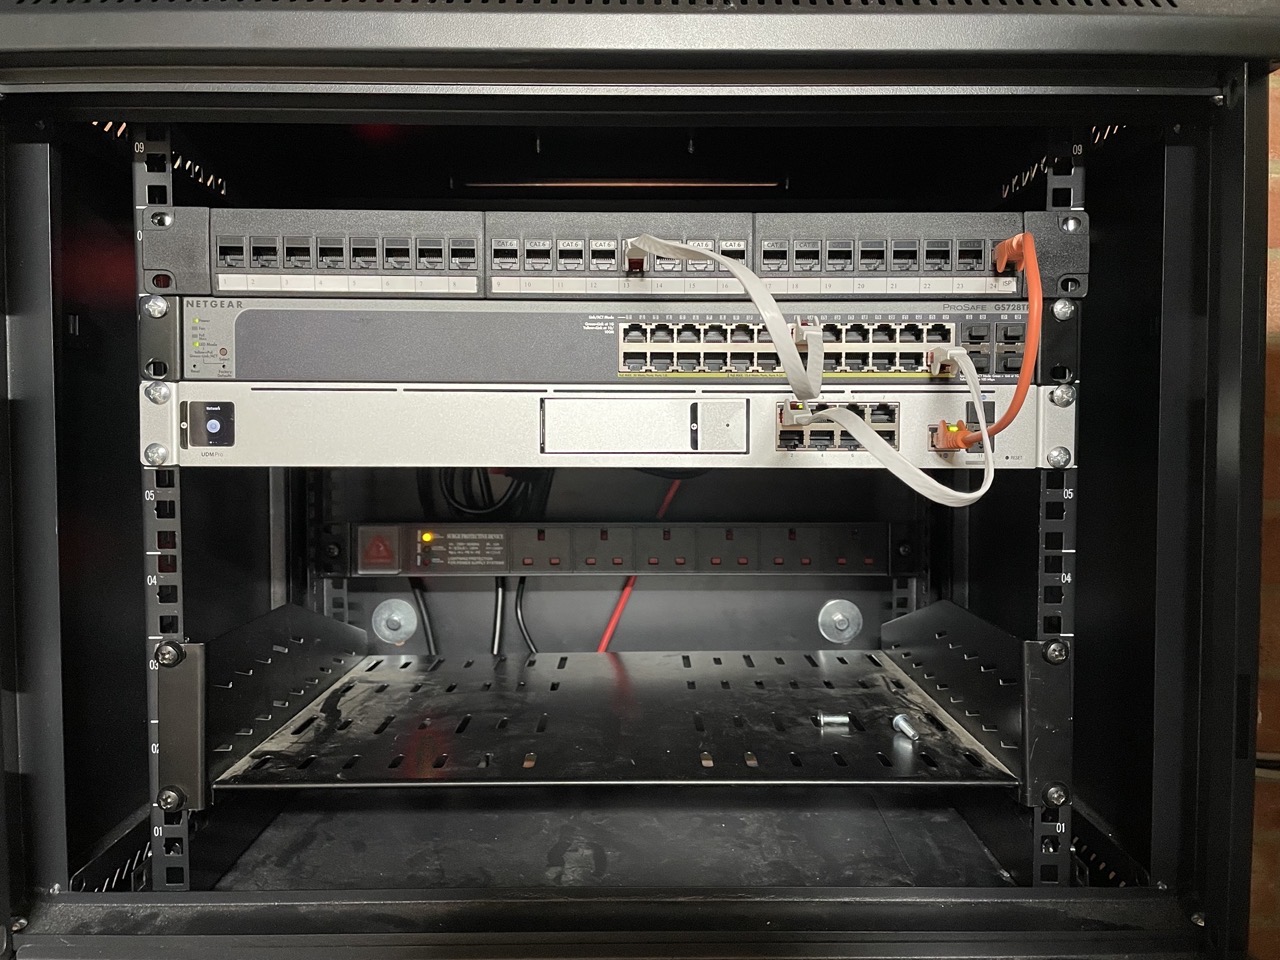
Then after labelling and arranging all the cables, things started to look much better!

Label printer
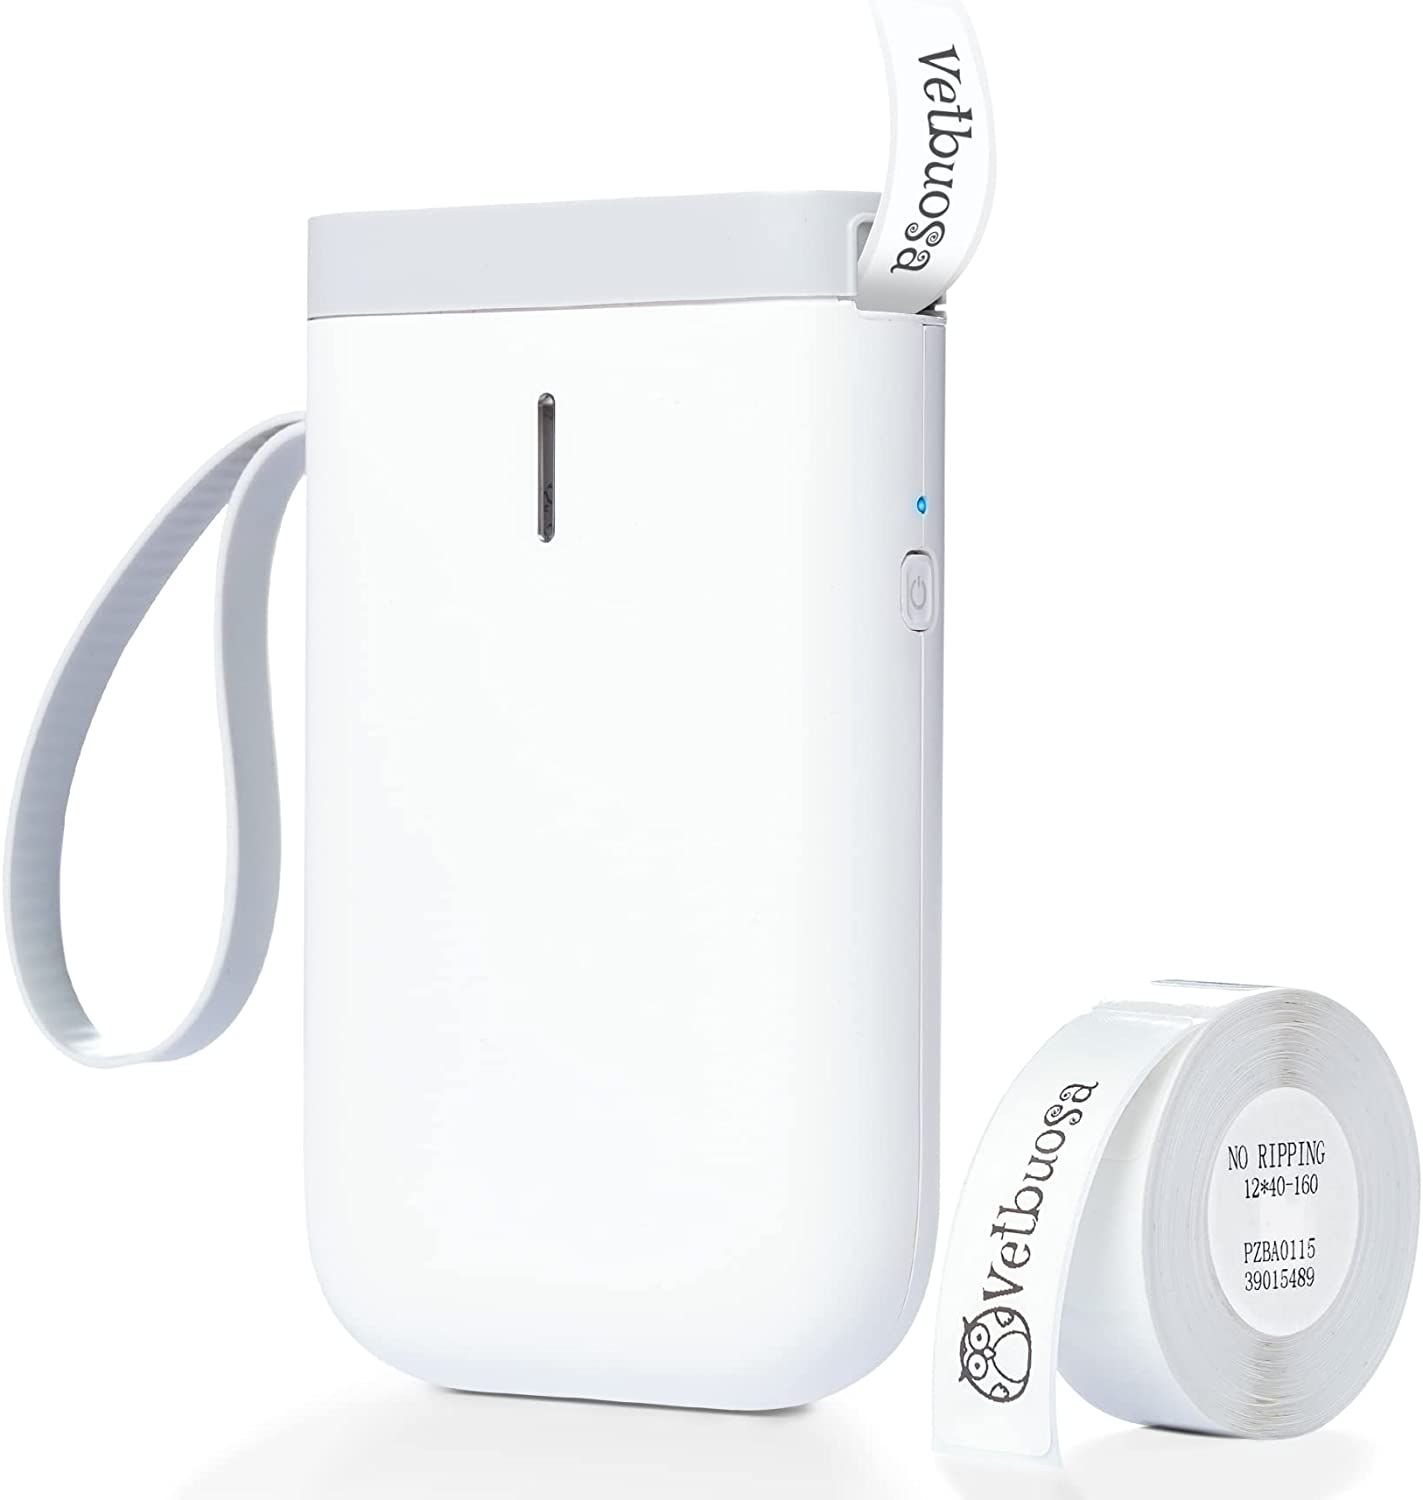
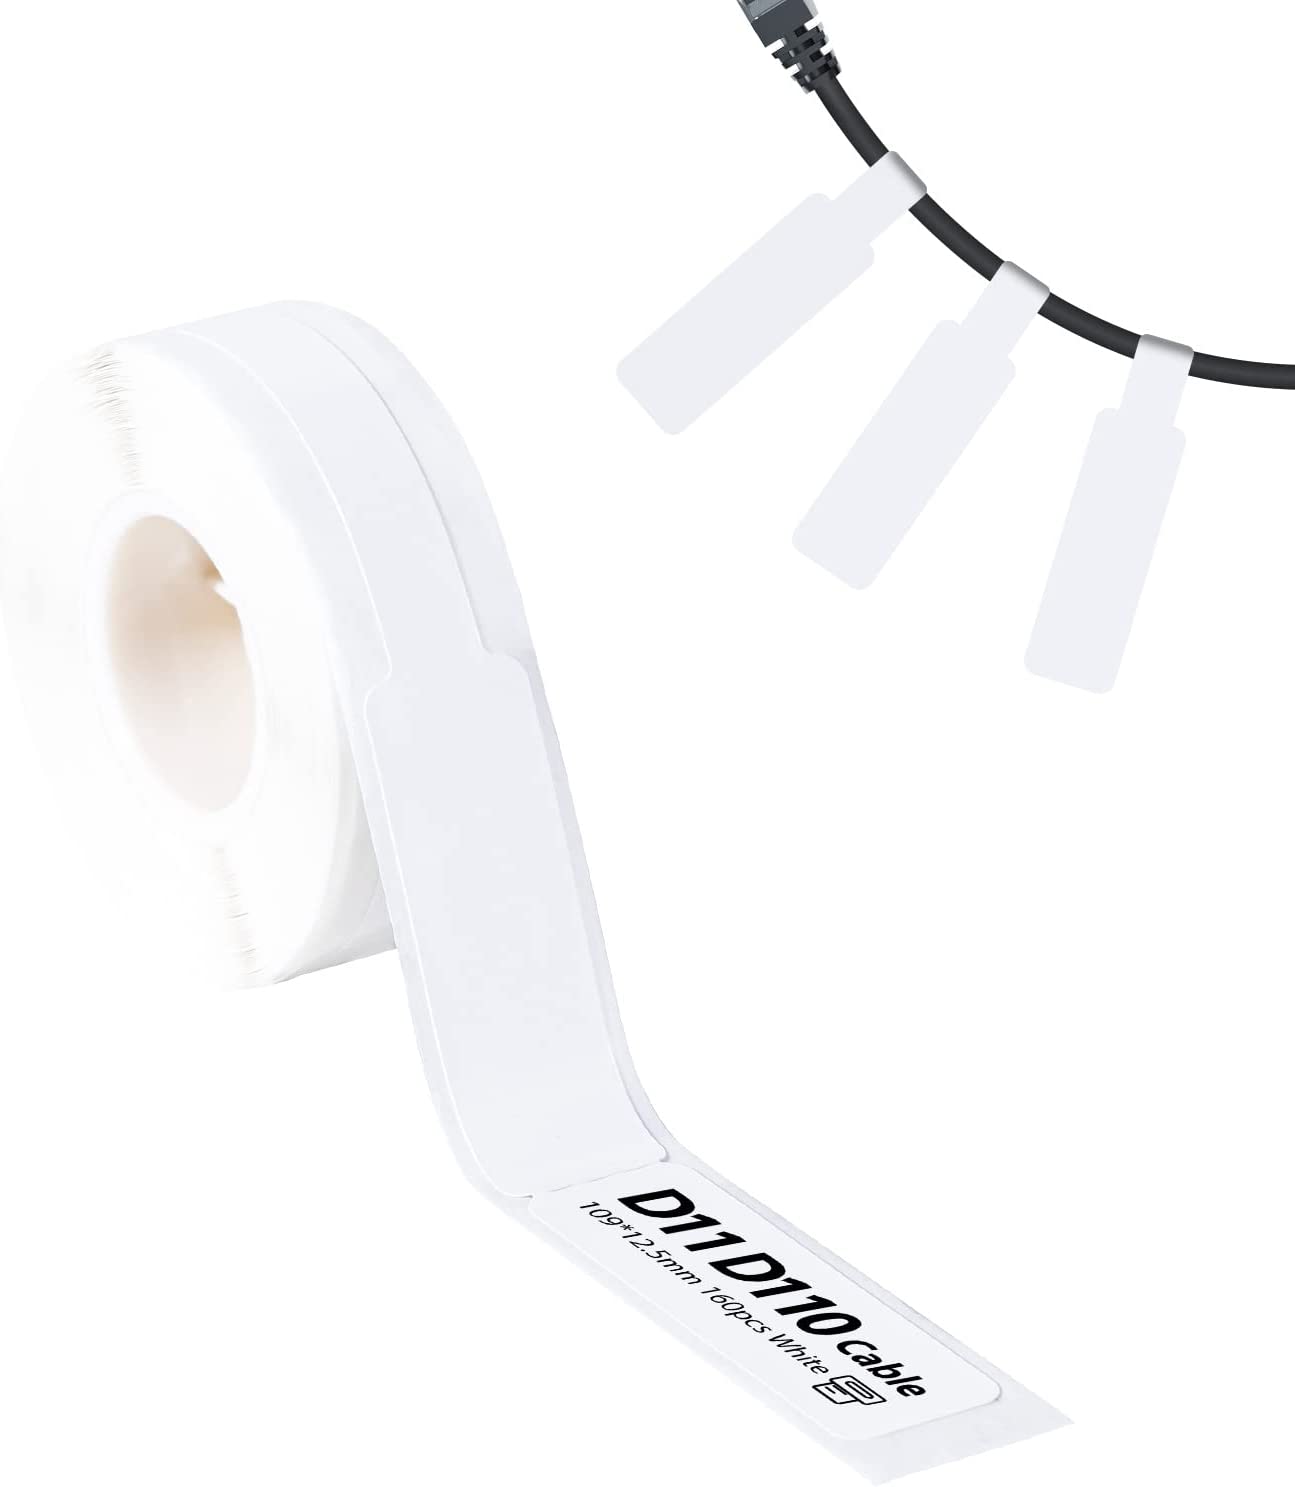
I bought myself a label printer to help out with labeling cables and connectors and sockets. The one I bought is cheap, but it is Bluetooth and has an app to design your labels, which works really well. It can also create ‘cable tape’ which is these little hanging tags for your cables - these are so great and worth the price alone!
It’s available at a load of places, including AliExpress (for a lot cheaper!) but I was lazy and wanted it yesterday, so I bought it from Amazon. (No affiliate links here!):